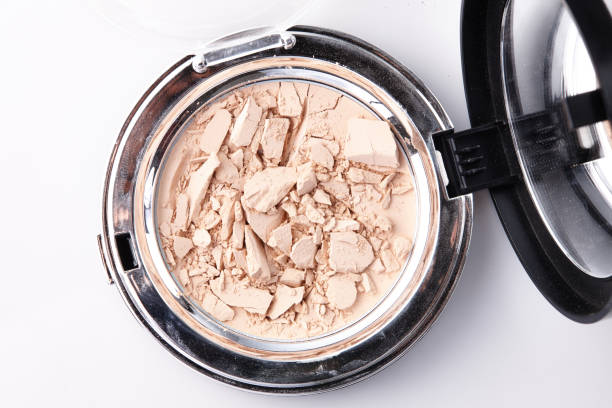
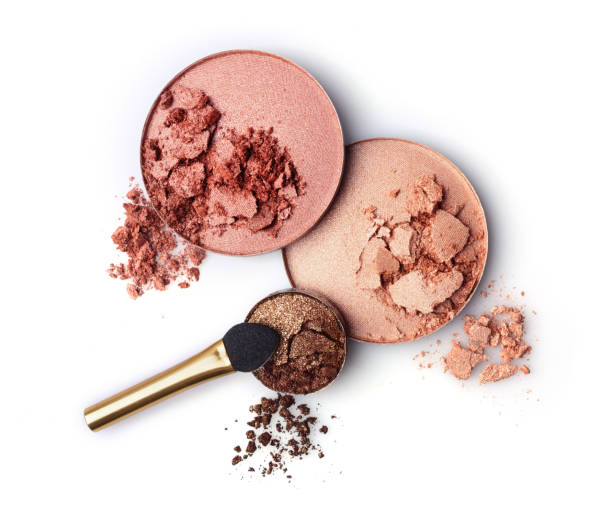
Blush is an essential in any makeup kit, adding a touch of color to your cheeks for a vibrant, fresh look. Unfortunately, blush is also prone to breaking, which can be frustrating and messy. Learning how to fix broken blush can save you time, money, and the hassle of replacing your favorite product. This guide will provide you with step-by-step instructions on how to repair your shattered blush and ensure it looks and works just like new.
Gather Your Materials

Before you start the repair process, it’s essential to gather all the materials you’ll need. To fix broken blush, you require a few simple items that are likely already in your home. Here’s what you’ll need:
- Rubbing alcohol (70% or 90%)
- A small bowl or container
- A spoon or spatula
- Plastic wrap or a plastic bag
- Paper towels
Having all your materials ready at the outset will make the process smoother and quicker. Rubbing alcohol is a key ingredient as it helps to bind the powder particles together without altering the formula of your blush.
Crush the Broken Pieces
The first step in fixing broken blush is to crush all the remaining larger pieces of the blush into a fine powder. Place a piece of plastic wrap over the broken pieces to prevent any mess. Use a spoon or spatula to gently crush the pieces until they resemble a fine, smooth powder. Ensuring that all pieces are crushed finely will help in achieving a smooth and uniform finish once the blush is repaired.
Create a Paste with Rubbing Alcohol
Next, you will need to mix the powdered blush with rubbing alcohol to form a paste. Pour the broken blush powder into a small bowl or container. Slowly add a few drops of rubbing alcohol and mix thoroughly with a spoon or spatula. Continue adding rubbing alcohol until you achieve a creamy paste-like consistency. Be careful not to add too much alcohol at once; it’s better to add it gradually to avoid making the mixture too runny.
Mold and Press the Blush
Once you have your blush paste, it’s time to mold and press it back into its original container. Scoop the mixture into the original blush pan, spreading it evenly. Cover the paste with plastic wrap to avoid direct contact, then use a flat object like the back of the spoon or a spatula to press and smooth the surface. Applying even pressure will help ensure that the blush sets correctly and retains its original shape.
Allow the Blush to Dry
After pressing the blush into its pan, it’s crucial to let it dry completely. Leave the blush uncovered in a safe place where it won’t be disturbed. Depending on the amount of rubbing alcohol used, this could take several hours or overnight. It’s essential to be patient during this step to ensure that the blush solidifies correctly and is ready for use.
Conclusion
Fixing broken blush is a simple and effective way to save your favorite makeup product and prevent waste. By gathering the necessary materials, crushing the pieces, creating a paste, molding and pressing, and allowing it to dry, you can restore your blush to its original condition. Not only does this method save you money, but it also helps you to maintain a fully stocked makeup kit with your favorite items.
FAQs
Can I use water instead of rubbing alcohol to fix my blush?
It’s not recommended to use water as it can cause bacterial growth in your makeup. Rubbing alcohol is safer as it evaporates quickly and helps to sanitize the product.
How long should I let the blush dry?
It’s best to let the blush dry for several hours or overnight. This ensures that the alcohol evaporates completely, leaving the blush fully solidified.
What should I do if I don’t have rubbing alcohol?
If you don’t have rubbing alcohol, you can use an alcohol-based hand sanitizer, but make sure it’s mostly alcohol without many added moisturizers or fragrances.
Will fixing the blush alter its color or texture?
No, using rubbing alcohol to fix the blush should not alter its color or texture. Once it dries, it should look and perform just like it did before breaking.
Can this method be used to fix other powdered makeup products?
Yes, this method works well for other powdered makeup products like eyeshadows, bronzers, and pressed powders. The steps are essentially the same.
